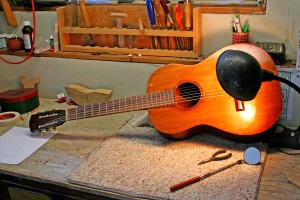
Ok, after that interlude with the game camera, back to business.
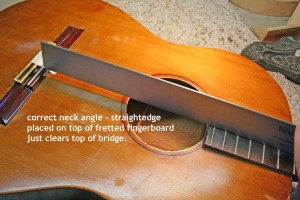
We left the Gibson with the neck off. It had to sit for a few days to let the moisture from the steam in the dovetail pocket dry out. Fitting the dovetail proceeds in phases. First phase is to re-establish the correct neck-to-body angle. A straightedge placed atop the fretted fingerboard should project a line at a level slightly above the bridge (not the saddle). In the case of this guitar, that meant removing almost 1/8″ of material from the bottom sides of the neck/dovetail. That is a lot. This is done slowly with a razor knife to start, and finished with small sharp chisels. Removing material from the sides of the neck makes the dovetail portion of the neck project deeper into the body block – you have to check to see if the neck dovetail is bottoming in the body block, and cut the neck dovetail back if it does. When the angle is approaching ‘correct’, I measure the amount of slop there is side-to-side in the dovetail joint. In this case, there was more slop at the bottom than the top because of aforementioned angle change. I decide whether a shim placed on one side will push the neck too far off center. Here, one shim on one side worked. It is tapered from about 0.035″ to 0.075″. 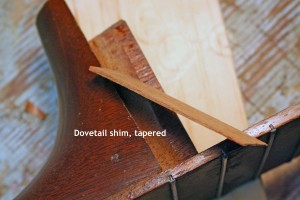 I start with the shim a little too fat to fully seat the neck, and line the body block cavity with red chalk.
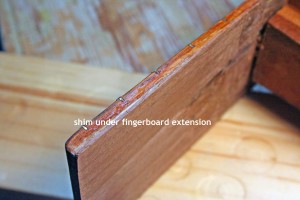
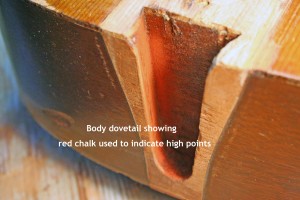 That way, as I retry the neck fit, it leaves chalk on the neck shim and dovetail. I trim off the high points and keep testing the fit until the neck almost seats. Then, I assemble the neck in the body (without glue) and insert sandpaper strips under the sides of the neck. Working these up and down makes the final fit of the neck sides to the body. Because of the amount of angle change necessary on this guitar, a shim was also needed under the fingerboard extension.
 When I am satisfied with the fit, I glue the joint and clamp it with one big C clamp over the dovetail/body block and a couple smaller ones on the fingerboard extension, using blocks to pad the clamps. After removing the clamps, I can see the resulting angle – seems just about right.
 The frets on this guitar needed attention when I was done with the reset. Initially, I tried leveling them, but the result was not satisfactory. They were small, worn frets to begin with. Neck resets can leave a bump in the fingerboard over the dovetail for a couple of reasons, and I elected to replace the frets after leveling the fingerboard. After removing the frets with the end-nippers, the board was sanded flat.
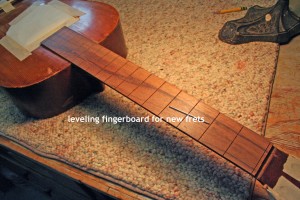 The slots were recut and new frets put in. This board, being a nylon string instrument, had no radius. I glue the frets with Titebond as they go in, and I glue the fret ends with cyanoacrylic (Krazy) glue after they are trimmed. They finished fine, and it plays fine now.
