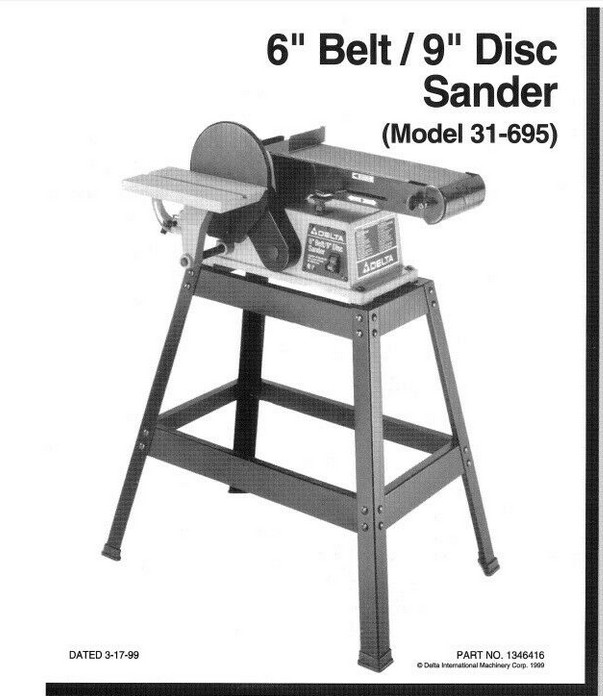
My belt sander, which I bought new in 2001, is one of the most-used tools in my shop. In 20 years I’ve only replaced the drive belt and the capacitor once, each. Last week however it slowed down while running, came to a stop and refused to start. When I hit the ON switch, the motor would turn a fraction of a revolution, make a buzzing sound but not come up to speed – no starting torque. It has a start capacitor which seemed like a fair place to start, but after replacing it with a new one, there was no change. I had to learn something about the motor.
(Always assume that a capacitor is charged with potentially lethal voltage. The two-pole variety like the one used for this motor can be discharged by shorting the poles to each other with an insulated handle tool.)
The motor – how to get it out. Removal of the bottom cover plates is straight forward. The motor is hung on a press-fit rod that runs from the front to the back of the casing, making the belt self-tensioning from the motor weight. There are 2 C-clips on the rod that have to be removed to drive the rod out. It is best to drive the rod from back-to-front (switch side) to get it out. This is not apparent from parts diagrams which show the rod coming out the back – to my misfortune since that is how I drove the rod out on my first try, slightly damaging the casing in the process. Obviously, supporting the casing by backing up the part that you are banging on is a good idea. Once the motor was out, I could test it on the bench.
Besides the capacitor, there is only one other part in the electrical circuit that could be failing besides the motor, and this is a relay in the switch box where the capacitor is. With capacitor start motors, the capacitor supplies additional current at start-up, which must be cut back during run. Sometimes the cut back is accomplished with a mechanical / centrifugal switch in the motor. Sometimes it is done with a ‘potential relay’ that energizes two circuits, then cuts one off as the motor comes up to speed. The potential relay is the method used in this Delta motor. I was able to take the relay apart, look at the contacts, verify that nothing was sticking, and I was also able to rule out the relay by bypassing it and attempting to run the motor directly on the ‘run’ circuit with a pull-cord start. It behaved the same with the relay bypassed as with the relay in line – that is, it had no starting torque, if it turned at all.
In a DIY forum on the subject of capacitors I found a posting that was helpful. First, it said that in a situation such as this motor with an AC capacitor with just two lugs, there was no difference between poles in how they were wired, so I could not put the capacitor in backwards as I feared I might. Even more helpful to my situation was the information that a motor which turns freely without power but binds up when energized, as mine did, most likely had a problem with the rotor being off-center and hitting the inner wall of the stator. This appeared to be the problem.
The outside of the motor is 3 parts – the end caps which hold the shaft bearings, and the stator – which are held together with 3 long bolts. I found that getting these parts to line up exactly was the key. There is very little clearance between the rotor and the inside of the stator – probably in the range of 0.040″ – which makes precise assembly of the motor essential. The bearings are close to press fits in the end caps, and definitely press fit on the shaft. Heat used cautiously allowed me to get the bearings to seat in the end caps (there is a spring washer under the bearing on the off-pulley side) and I ended up using bar clamps to press the whole assembly together so there was correct alignment. I repeatedly tested the motor on the bench with different clamping positions until I found one where the motor both turned freely by hand, and started and ran smoothly. That is where I put the 3 bolts back through the casing and tightened them to within an inch of their lives. It has so far given 2 hours of runtime without failing.
Why it ran for 20 years and finally warped out of alignment I cannot say. I would probably not have gone through the hours it took to figure this out except for the fact that new machines are either very expensive, or very cheap, and used machines are hard to find. Our new-age era is one where repairing equipment is starting to make a lot more sense, now that we are in a supply problem with both new and old equipment.